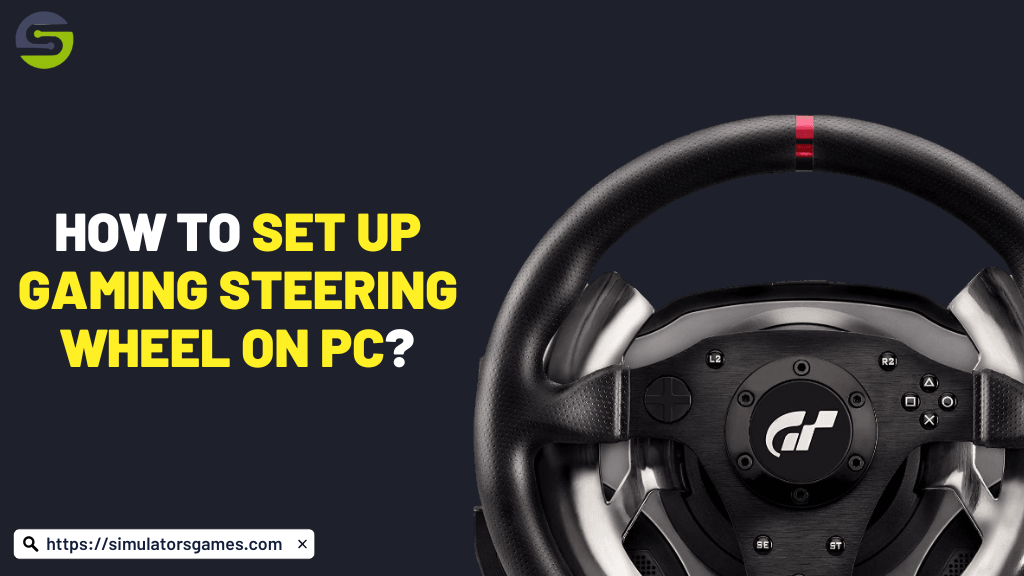
If you want to take your gaming experience to the next level, a gaming steering wheel is a must-have. It’s a far cry from using a keyboard for control, and every avid gamer knows the difference. However, not everyone knows how to Set Up Gaming Steering Wheel on PC.
If you’re one of them, don’t worry! Follow the steps below and you’ll be well on your way to seamless gaming with your brand-new steering wheel. These simple instructions will help you get set up gaming steering wheel on PC with ease, so you can focus on dominating the virtual racetrack.
Step 1. Setting up the Gaming Steering Wheel
To enjoy a thrilling gaming experience, the first step is setting up your gaming steering wheel. This crucial step must be executed flawlessly to avoid encountering any difficulties during gameplay. Follow the instructions outlined below to achieve an error-free installation of your gaming steering wheel.
Attach pedals and other attachments to the steering wheel, and proceed to connect the power adapter to the wheel. Next, link the attachments to your PC’s USB port and position them appropriately. Select the mode of your steering wheel, turn on your computer, and plug the wheel into the power output.
It is important to note that these steps may vary depending on your device’s brand, but this procedure will work for most devices. Take your gaming experience to new heights with a well-installed gaming steering wheel.
Step 2. Install the necessary Drivers
One vital aspect of setting up your steering wheel is to install drivers that allow for a seamless connection. Should you encounter issues while trying to link your device to the computer, outdated drivers may be to blame. Thus, keeping your drivers up to date or installing them according to your device’s specifications is essential.
To install the required drivers, you can choose between two methods:
- The Manual Method
- The Automatic Method.
Below are steps for both, enabling you to decide which method suits your needs.
1. The Manual Method
As a human, you might find it daunting to install drivers using the manual method. This process involves scouring the manufacturer’s website for the appropriate driver and downloading and installing it onto your computer.
For instance, if you possess a gaming steering wheel by Logitech, then you should visit their official website and search for the correct drivers that correspond to the model of your steering wheel.
Nevertheless, as we observed, novices tend to encounter errors when installing drivers through this manual method. This usually occurs when they mistakenly download and install the wrong driver that’s incompatible with their computer. Hence, if you’re new to this method, we advise you to opt for the alternative option.
2. The Automatic Method
Have you ever struggled with manually updating drivers for your computer? It can be a tedious and time-consuming process. Luckily, there’s a better option – the automatic method.
With the automatic method, all you need to do is download a driver updater software and let it do the work for you. The software scans your entire system and identifies any faulty or outdated drivers that need to be repaired.
Once it presents a list of the problematic drivers, you can easily update them all at once or choose to do it one by one. The best part? The driver updater tool only downloads drivers from official websites.
If you’re wondering which software to use for this method, look no further than Bit Driver Updater. Not only does it keep your drivers up-to-date, but it also optimizes your computer’s performance for faster and smoother operation.
In just a few minutes, you can update all your drivers and ensure your system is functioning at its best. Of course, there are many driver updater tools out there, but in our opinion, Bit Driver Updater is the best.
Save yourself the time and hassle of manually updating drivers – try the automatic method today with Bit Driver Updater.
Step 3. The Final Configure Step
As you set up your gaming steering wheel by installing the hardware and drivers, the next step is to configure it properly. To ensure it is functioning correctly, follow the steps outlined below for the Logitech G27 racing wheel.
In the event, you have a different type of steering wheel, refer to these instructions as a guide for setting up your device in a similar fashion.
Begin by opening the program.
- Click on the ‘Profile’ option followed by selecting ‘New.’
- Add the game of your choice to your gaming steering wheel.
- Choose the ‘Edit’ option and then select ‘Specific Game Settings.’
- Once you’ve configured your desired settings, take a screenshot and press Ok.
- Click on the Options button from the taskbar menu.
- Select ‘Global Device Settings’ from the drop-down menu.
- Customize the settings to match the screenshot and confirm the changes by clicking the Ok button.
After you’ve completed these steps, you can rest assured that your gaming steering wheel is correctly set up and ready for use.
Conclusion
In summary, setting up a gaming steering wheel on your Windows PC is a straightforward process if you follow the instructions carefully. From attaching pedals and other attachments to installing necessary drivers.
We’ve provided step-by-step instructions that make it easy to Set Up Gaming Steering Wheel on PC with your new steering wheel. Whether you choose the manual or automatic method for installing drivers, we recommend using Bit Driver Updater to ensure your system stays optimized and up-to-date.
With a well-configured gaming steering wheel, you’re all set to dominate the virtual racetrack and take your gaming experience to new heights.
Happy gaming!
Also Read: What is RivaTuner? Comprehensive Guide and Features


